


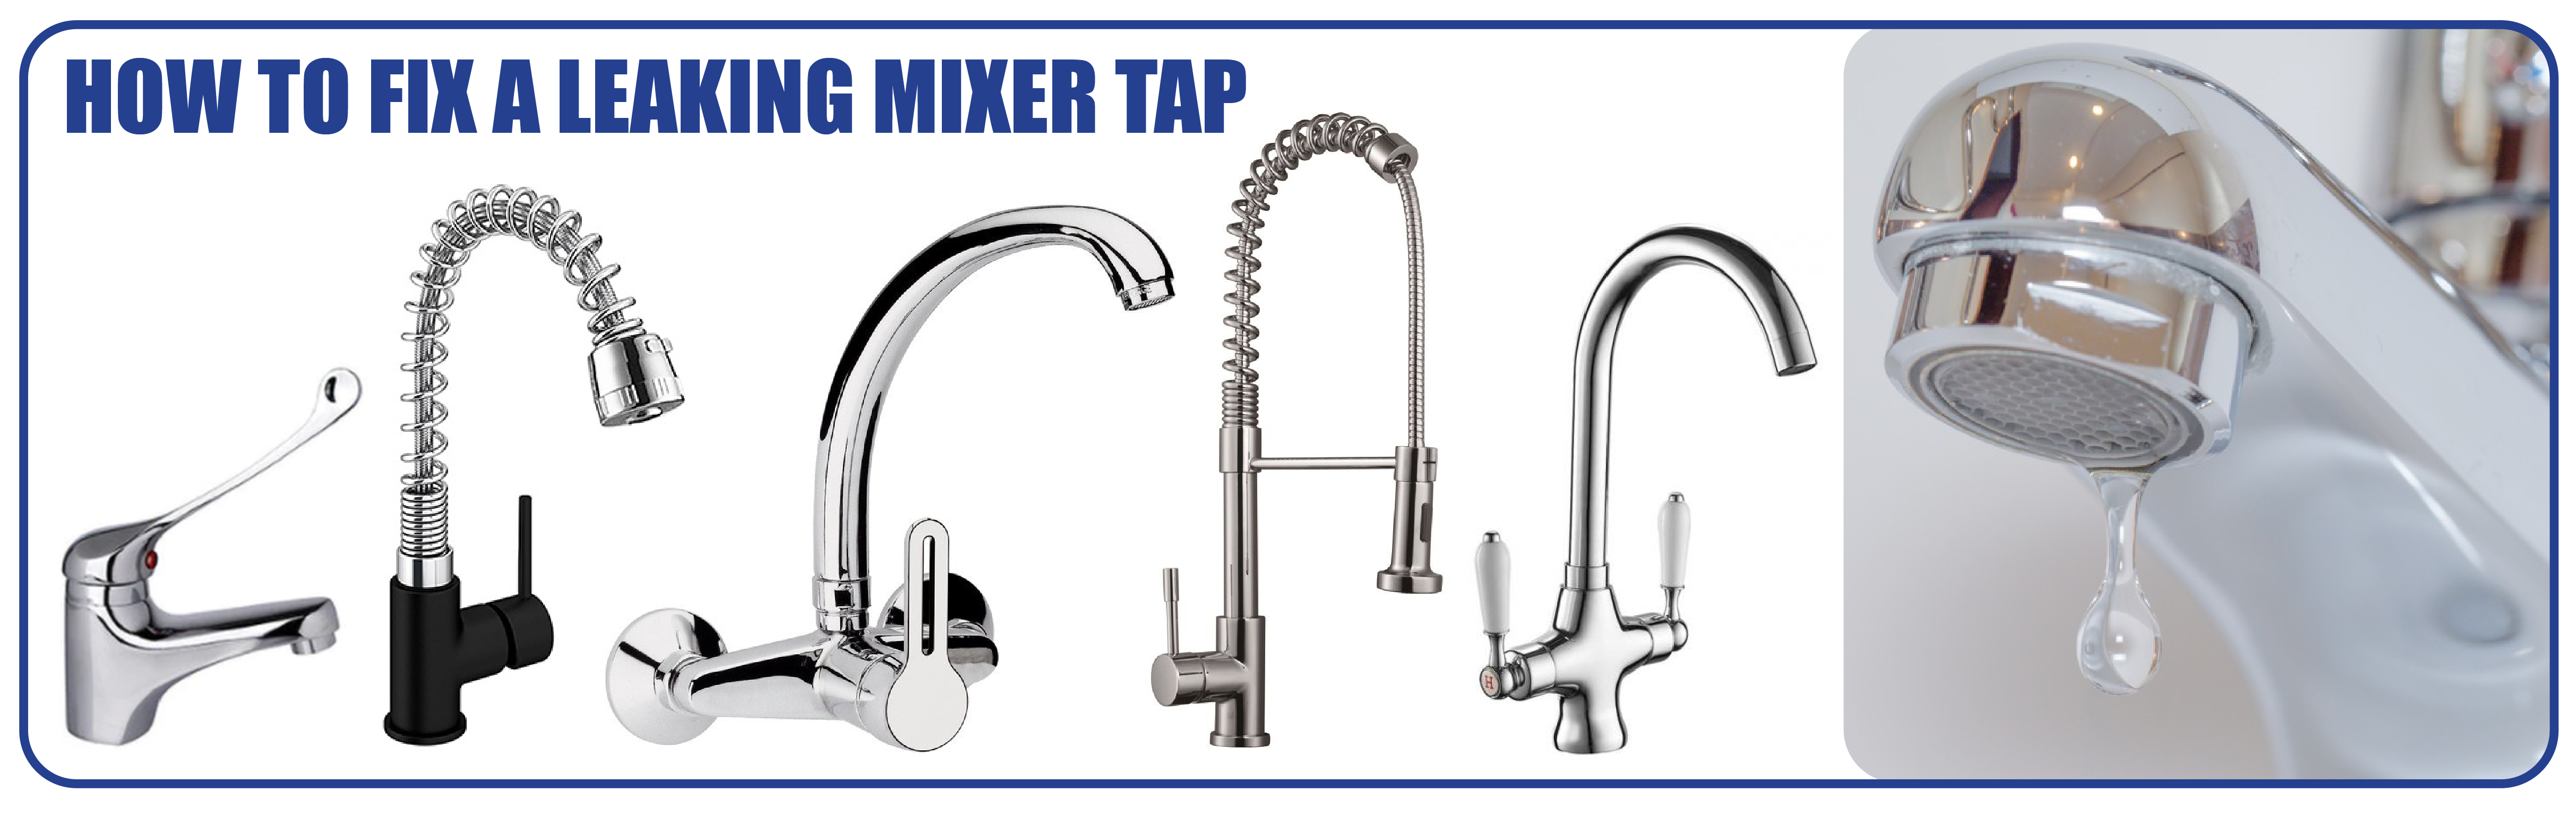
 The dreaded leaking tap....drip, drip, drip.
Driving you past the point of irritability and into madness!
A leaking tap can consume as much as half a litre of water per hour.
If you have a large leak or several leaking taps this can add quite heavily to your water bill.
Leaking water can result in floor and ceiling damage and consequently very expensive repairs
 Some of the more common visible issues which can result in a leaking tap are:
The good news is that even if you are not your typical handy-man, you are more than capable of resolving this life-altering issue. It is always best to start fixing the problem as soon as possible. Waiting for too long can ultimately lead to further complications and can potentially become far more of a financial burden. So, repairing a leaking mixer tap is actually a very simple DIY job no matter what your experience level is.
First things first. WHAT is a Mixer Tap?
Mixer taps are one of the most common types of tapware found within Australian homes. The mixer tap is so functional, offering complete control over the stream of water and its temperate level.
Traditionally, most kitchen and bathroom taps would consist of a 3-piece tap set which offered separate hot and cold taps and a spout. This was a rather complicated solution, hence the Mixer Tap was born. Mixer taps are streamlined and modern, allowing users complete control over the flow and specific mix of the water temperature by the flick of a handle.
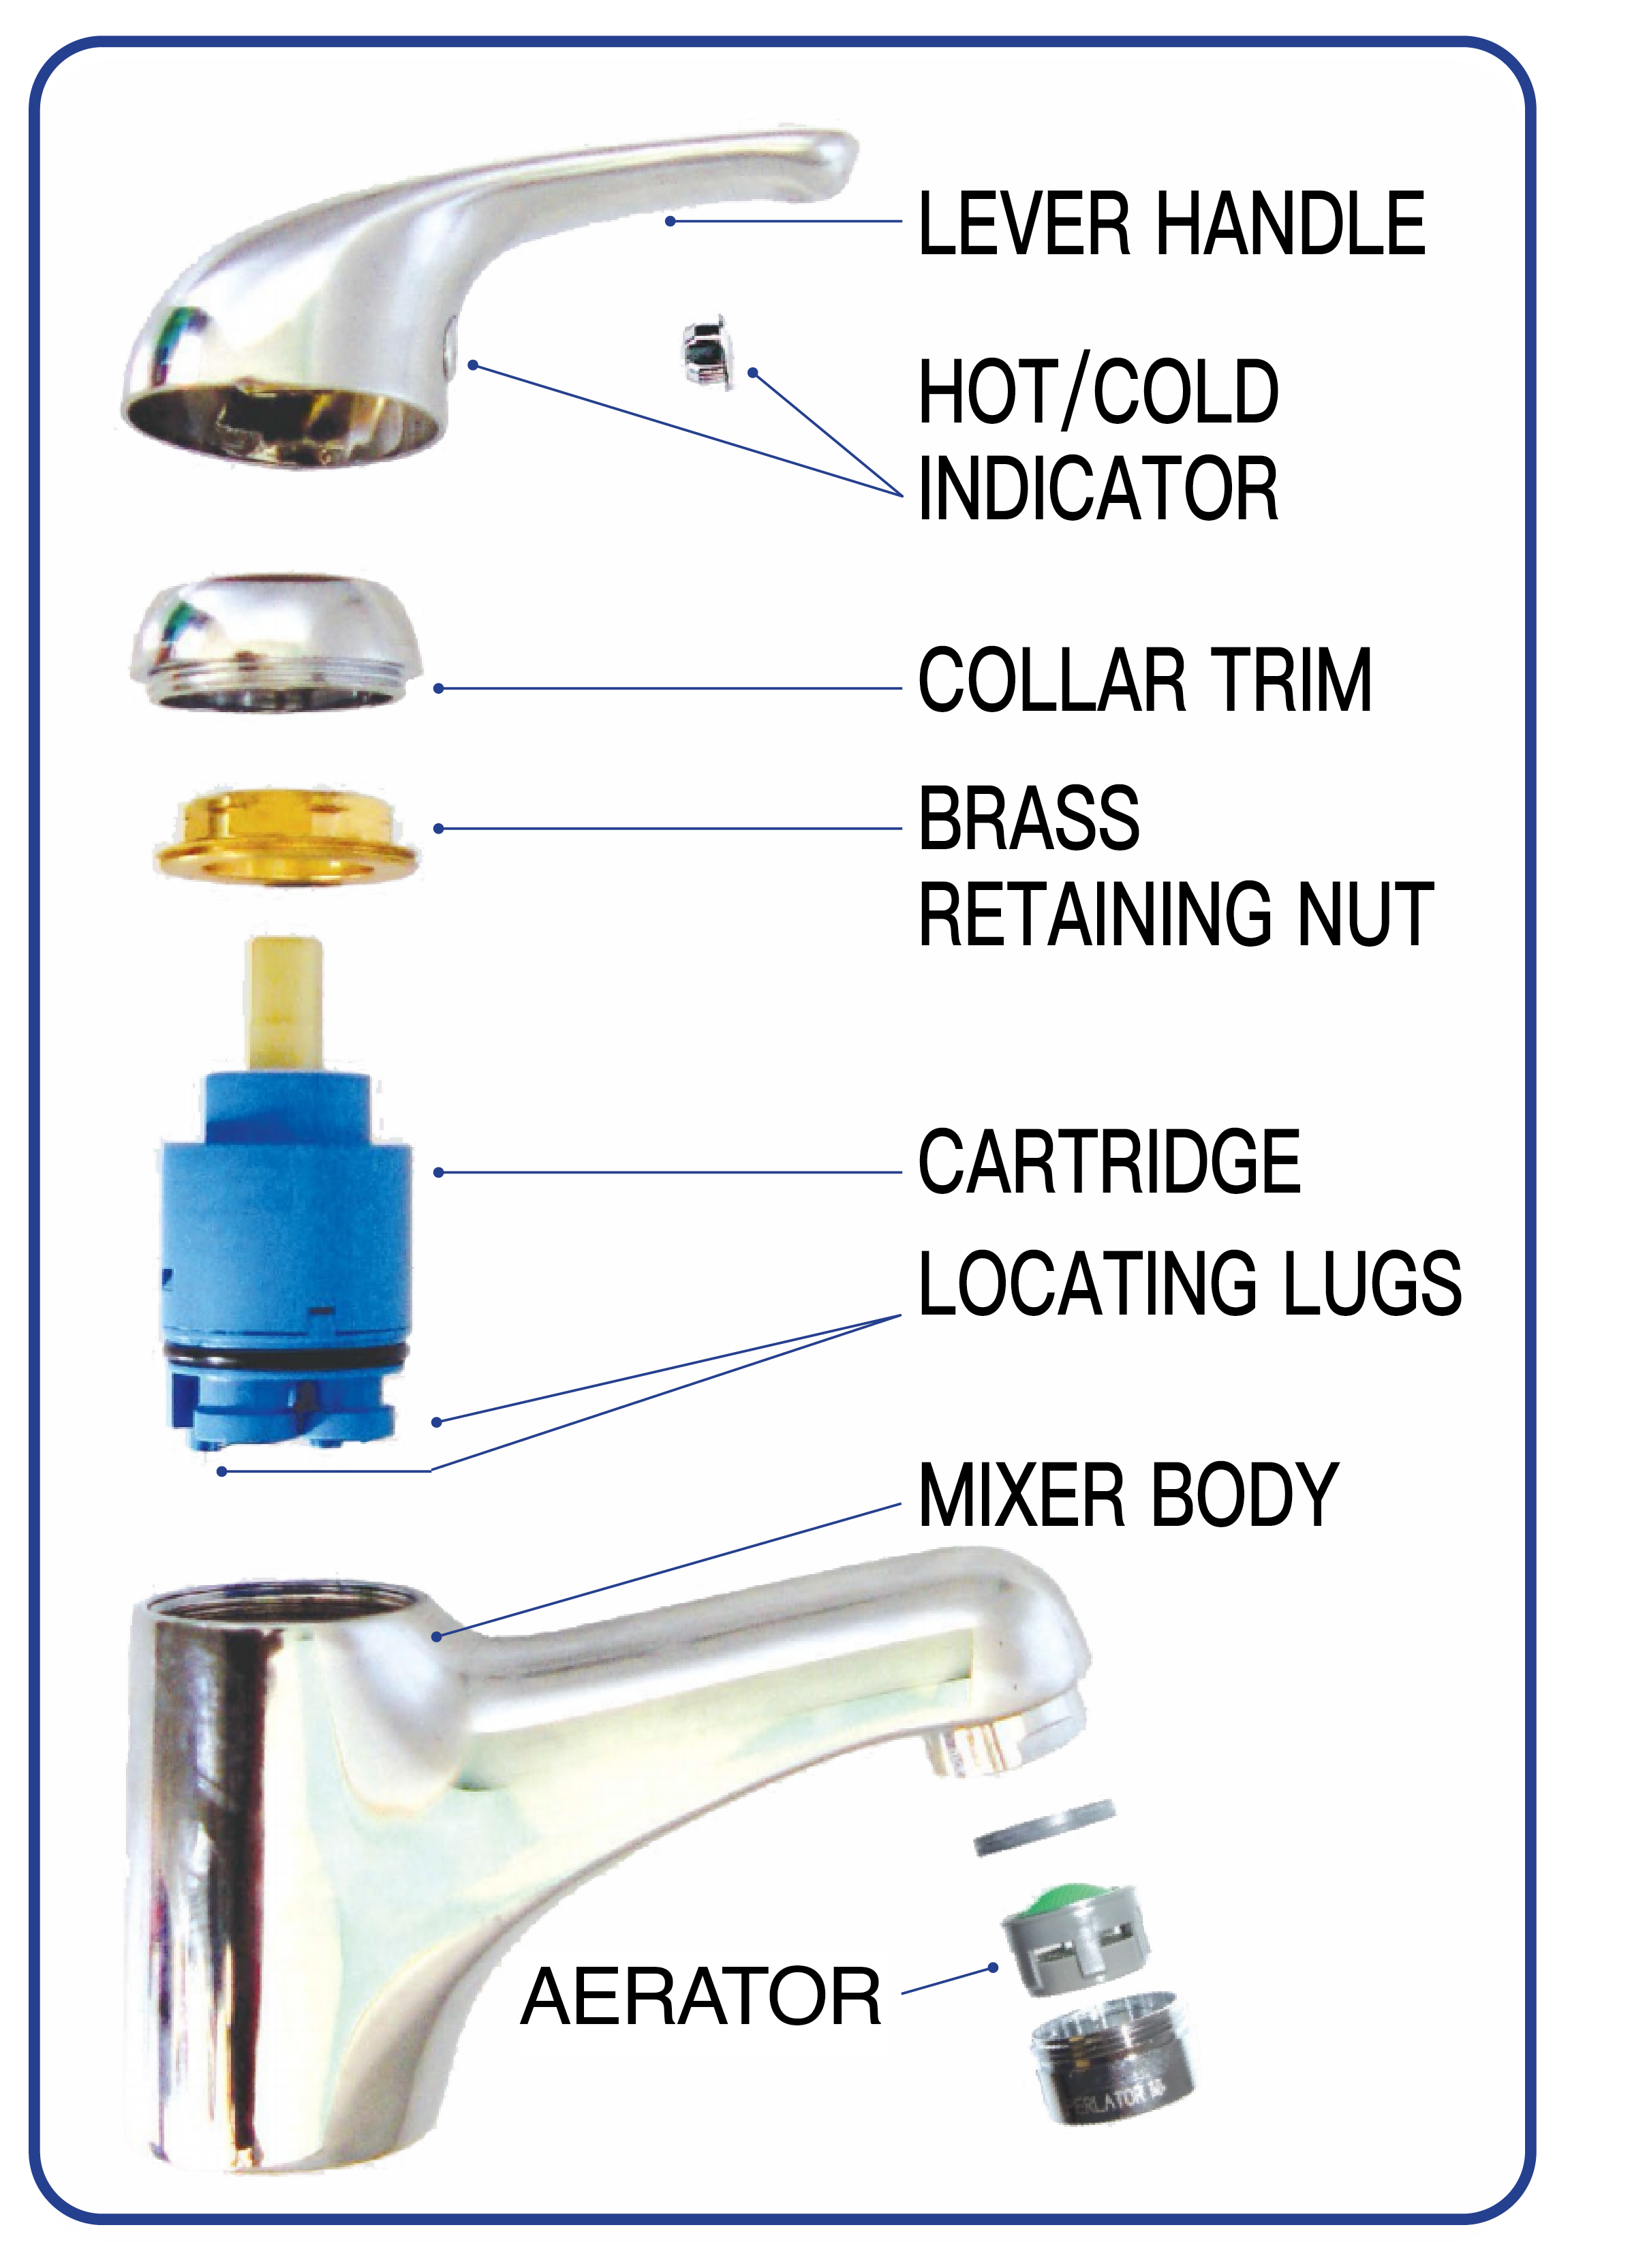
What is a Ceramic Cartridge?
The old traditional 3-piece tapware would use an internal rubber seal or washer to assist in the tap turning. Over a period of time the washer would show wear and tear, leading to water leakage. The washer would fail quite regularly, depending on its use.
However, most modern taps are constructed using a highly durable ceramic cartridge.
The ceramic cartridge consists of a pair of discs in which the bottom disc stays fixed while the upper disc rotates when the handle is operated.
Turn on the handle and the upper disc moves, allowing the free flow of water.
Once turned off, the ceramic disc blocks the incoming water flow once again.
Ceramic discs are far more advanced and durable than most washers, however they remain prone to cracks which can cause annoying water leakages.
Now we are all aware of the named hardware used within the mixer tap, it is time to become familiar with fixing the problem at hand.
1. Firstly, turn off your Water Supply
The most reliable and convenient way to turn off your water supply to the mixer tap is to use either a stop valve or isolation valve. The stop valve can be found next to your water meter and the isolation valve can be located on the supply pipes below your sink.
Turn on your mixer to release any remaining water left in your pipes. Plug your basin or sink to prevent any parts from falling down the drain as you get to work.
2. Remove Plastic Cap/Cover
Once your water has been securely halted, you will need to locate and remove the cap that covers the grub screw.
On most taps, this cap is the hot/cold indicator button found on your mixer handle.
Remove the hot/cold indicator button from the handle by carefully prising out with a craft knife, flatblade screwdriver or similar.
3. Remove the Grub Screw & Handle
Once the grub screw cap has been removed, you will find the grub screw located in the hole underneath. This small screw is what fixes your handle to the base of your mixer tap. Use your Allen key to undo the grub screw until you can lift the handle off the cartridge spindle. The grub screw sizes do vary on most taps. However a 2mm or 2.5mm Allen key will in most cases work well.
If there happens to be a build-up of calcium carbonate, commonly known as limescale over the grub screw, it may cause the mixer handle to stick to the base. Simply soak your mixer in a half water, half vinegar combination for 20 minutes to loosen the handle ready for removal.
4. Remove Chrome Dress Ring & Retaining Nut
Step 4 is to remove the chrome dress ring. There are no flat sides on this ring so you will need the use of a pipe wrench. After removing the dress ring, you will see a brass retaining nut. Use your spanner to unscrew and remove the brass retaining nut to find your mixer’s ceramic cartridge. Use an old rag in between your tools and the mixer so you don’t damage the chrome tap mixer.
5. Replace the Cartridge
Once you have access to the cartridge, gently remove and replace it with a new one of the exact same model. Follow all of the instructions provided by the manufacturer and make certain that the cartridge locator pins match up perfectly.
6. Reassemble the Mixer & Turn On Water Supply
Once you have successfully fitted the new cartridge, remove the aerator before re-using the mixer as air will release through the taps for about 20-30 seconds afterward. Finally, reassemble all of your tap parts and then reactivate your water supply at either your stop or isolation valve.
Keep some mopping up towels on hand to clean the area. Once your tap is fixed and water ready - test the tap works.
NOTE: if you are only changing the cartridge or a valve, this is perfect for the home handyman job. However, if INSTALLING a mixer Tap, you will need to hire a Licensed Plumber by law. If in any doubt, check your specific state Legislation on the Plumbing and Drainage Act for further information.
If you find you don’t own the right equipment or cannot quite work out what to do, simply contact your nearest plumber.